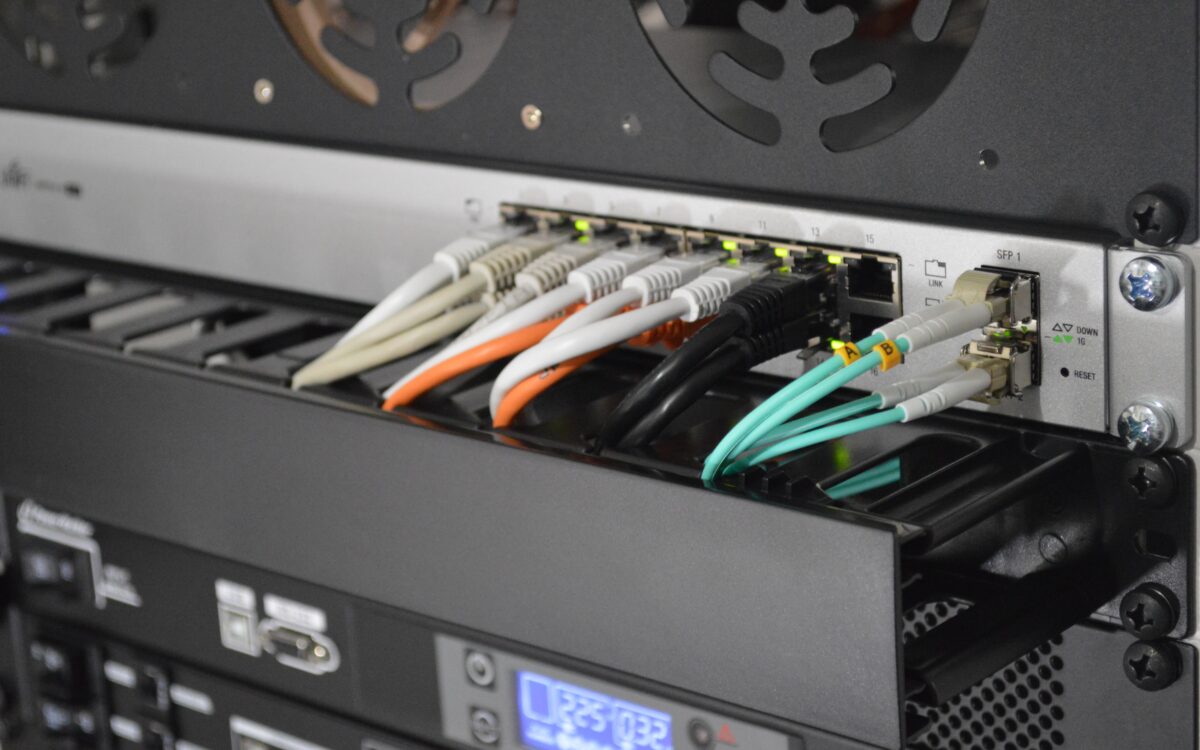
Kubernetes has become a standard in cloud deployment. As a result, deploying your application in the cloud using Kubernetes or tools based on it is very common. In the beginning, playing with Minikube satisfied our needs, curiosity, and knowledge-seeking. But, as we move towards production environments and start to understand high availability and scalability, we realize we need more powerful toys with lots of CPU, RAM, and storage for testing and experimenting. In the following months, I will describe in a step-by-step guide how I built my homelab cluster for Kubernetes, what were the mistakes I made and how I solved them, and what you should consider before going on this road.
End-Goal

The end goal is to have an up and running Kubernetes cluster at home, ready to run and scale applications.
Virtualization
I will build the cluster using Proxmox VE 7.0, an excellent open-source virtualization management platform based on KVM, with over 15 years of proved history. I found it to be very flexible and easy to use. In addition, it offers out-of-the-box features like automatic VM backup, notifications, replication, fencing, a Ceph Interface, and many more.
The obvious alternative would have been VMWare vSphere, but the price for three physical hosts with two CPUs was, at the time of this writing, around 600 euros per year. If you are willing to pay this amount of money for the virtualization technology, I suggest going for it. It is more common in software companies, and you will probably have more chances to run into VMWare than Proxmox.
Kubernetes distribution
I will be using a Kubernetes (v1.21+) distribution cluster using Ubuntu Server 20.04 virtual machines and Microk8s, Canonical’s lightweight Kubernetes distribution. At this point, I will branch out into how to run a K3s(Rancher’s Kubernetes distribution) and OKD(RedHat community Kubernetes distribution) cluster as they are the most used alternatives to Microk8s.
For storage, I will be using multiple technologies such as NFS and iSCSI on a separate TrueNAS server, Ceph, and MinIO. I will also detail how to install and configure a TrueNAS server to work with Kubernetes and Proxmox.
Considerations
Having a homelab sounds very cool, and when you see a complete rack in your home office, it definitely feels fulfilling. Add some Prometheus dashboards, and you have an absolute masterpiece. Soon, you’ll be inviting fellow developers over to show them your new pet and brag about how powerful it is and how many things it can be.
But…You should consider the following aspects:
Hardware cost money
Depending on your end goal and on how much you are willing to spend on the metal pieces, you should decide on a budget and stick to it. Next, you must consider infrastructure parts such as HDDs, SSDs, cables, routers, switches, UPSs, and probably an air conditioner.
Things will break
Two of my second-hand HDDs crashed in my first two months, then one cooler, and then an SFP+ cable. These are pretty cheap components, but you should take into account that they will require maintenance.
Heat & Noise
In the beginning, I was planning to keep them in the custom “rack” that I built (see the picture at the top) in my living room. I soon discovered that the heat produced couldn’t be ignored, and I had to keep my AC full throttle all day long. The noise, on the other hand, was unbearable. Even from another room with the door closed, I could hear them.
Long story short, I ended up building a two square meters room dedicated to servers and storage where I installed an air conditioner, a dehumidifier, and a temperature and humidity sensor. And, of course, a very thick door.
Know the hardware
Be sure you understand the limitations of the hardware before buying it. The price difference between an HP Proliant 380p G8 and an HP Proliant 380 G9 has a reason behind it. Check the performance of CPUs and RAM against your requirements. If you plan to deploy CPU-intensive applications, you should focus more on the CPU, especially on high frequency per core. If you plan to host websites or deploy microservices with low to medium resource requirements, you should focus more on RAM.
On the storage part, it’s the same story – HDDs or SSDs, Hardware RAID, or Software RAID. Check your I/O disk requirements. You might find out that HDDs are more than enough for your needs.
Learning curve
It’s not easy. If you come from the Software Development world, as I do, then you’ll have to strengthen your patience and buy a lot of coffee. There will be long nights, you’ll reach long-forgotten forums and threads, and there will be days when you’ll go to bed with more questions than you woke up with, which will put you out of your comfort zone big time.
Conclusion
Either you plan to host your applications or play around with Kubernetes, it’s a good skill for a developer to have. It will broaden your knowledge, and you will have to get used to things such as Switches & Routers, Networking & the OSI model, Linux & Scripting, Virtualization, and so on.
These skills will probably become “nice to have” for the full-stack position shortly. According to CNCF’s survey, in 2020, 83% of the respondents are using Kubernetes in production. This rate increased by 5% from the previous year, and these trends confirm that the adoption will continue.
Stay tuned for the next article to find out more about the hardware choices, topology, and budget.

